Are you looking to implement kubernetes gpu share to get the most out of your NVIDIA CUDA-enabled graphics card in a MicroK8s cluster? After all, sharing a single GPU across multiple pods can be a cost-effective way to maximize resource utilization, especially with GPUs that have a unified VRAM pool. To facilitate this, this guide will walk you through how to achieve kubernetes gpu share in MicroK8s, allowing multiple pods to benefit from a single graphics card.
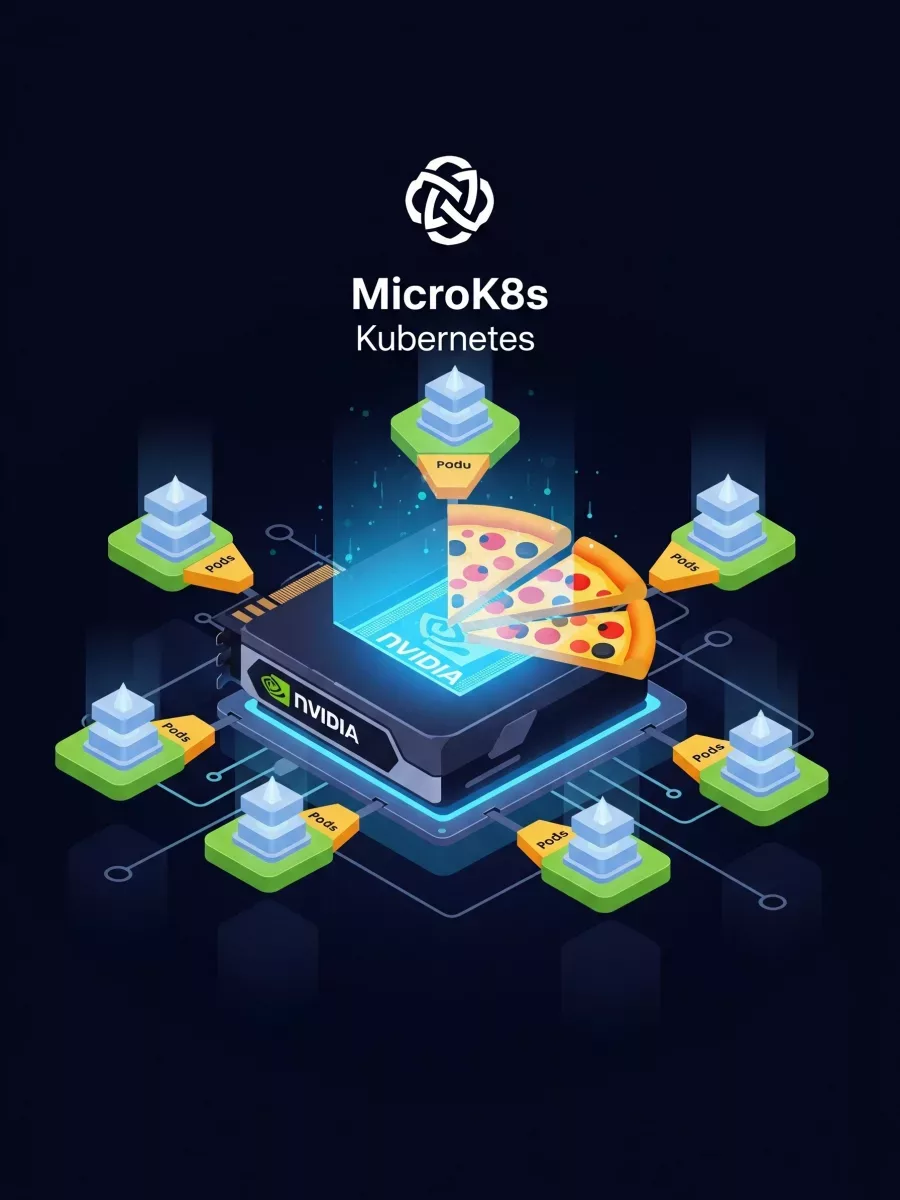
Understanding the GPU Sharing Challenge: The Pizza Analogy 🍕

However, the challenge arises when your GPU has a unified VRAM pool. Essentially, this means it typically dedicates its entire memory to a single workload at once. To illustrate, it’s like having to give the whole pizza to the first person who asks. Consequently, if another pod requests the GPU, it finds an empty plate because the entire resource is already claimed.
Fortunately, this guide solves that problem by showing you how to effectively share that single “pizza”—your GPU—among multiple pods. Nevertheless It’s important to note that this method often works on a “first come, first served” basis for the available shared slots, with each pod, when active, getting access to the GPU’s full power for its tasks.
Step 1: Installing NVIDIA Drivers for Kubernetes GPU Access
Want to see it in action? Watch our guide on YouTube:
Correct NVIDIA drivers are crucial for kubernetes gpu share. Therefore, We’ll install them directly on the server.
- Follow Official NVIDIA Documentation: While Ubuntu documentation exists, using the official NVIDIA documentation is recommended for server installations to avoid potential issues.
- Verify Linux Headers: Ensure Linux headers for your specific kernel release are installed.
uname -r
apt install linux-headers-$(uname -r)
In many cases, they might already be installed.
3. Network Repository Installation:
- Configure environment variables for
distroandarch. Refer to the NVIDIA introduction page for accepted values. For Ubuntu 24.04 and a common CPU architecture (e.g., x86_64), you might set:
export distro="ubuntu2404" # Adjust if a more specific version like ubuntu2404 becomes listed
export arch=$(uname -m)
- Download and install the
cuda-keyringpackage as per NVIDIA’s instructions.
wget https://developer.download.nvidia.com/compute/cuda/repos/$distro/$arch/cuda-keyring_1.1-1_all.deb
dpkg -i cuda-keyring_1.1-1_all.deb
rm cuda-keyring_1.1-1_all.deb
- Update repositories. You should see the NVIDIA repository become available.
apt update
- Install CUDA Drivers:
apt install cuda-drivers
- Reboot and Verify:
reboot now
Once the server is back online, run nvidia-smi to confirm successful driver installation. You should see your GPU details.
nvidia-smi
Step 2: Setting Up Your MicroK8s Cluster
Now, we’ll install MicroK8s with dual-stack (IPv4/IPv6) networking enabled, following the official Ubuntu documentation.
- Create Configuration Directory and File:
mkdir -p /var/snap/microk8s/common/
- Add network configuration options:
cat <<EOF | tee /var/snap/microk8s/common/.microk8s.yaml > /dev/null
---
version: 0.1.0
extraCNIEnv:
   IPv4_SUPPORT: true
   IPv4_CLUSTER_CIDR: 10.3.0.0/16
   IPv4_SERVICE_CIDR: 10.153.183.0/24
   IPv6_SUPPORT: true
   IPv6_CLUSTER_CIDR: fd02::/64
   IPv6_SERVICE_CIDR: fd99::/108
extraSANs:
  - 10.153.183.1
EOF- Install MicroK8s:
snap install microk8s --classic
- Bash Aliases (Optional but Recommended):
echo "alias wa='watch '" >> ~/.bashrc
echo "alias k='microk8s kubectl'" >> ~/.bashrc
echo "source <(microk8s kubectl completion bash)" >> ~/.bashrc
echo "complete -o default -F __start_kubectl k" >> ~/.bashrc # For the 'k' alias
source ~/.bashrc
- Check Cluster Status:
wa k get po -A
- Verify IPv6 Functionality (Optional Test):
- Create Kubernetes Deployment File
cat <<EOF | tee ipv6_test.yaml > /dev/null
apiVersion: apps/v1
kind: Deployment
metadata:
  name: nginxdualstack
spec:
  selector:
    matchLabels:
      run: nginxdualstack
  replicas: 1
  template:
    metadata:
      labels:
        run: nginxdualstack
    spec:
      containers:
      - name: nginxdualstack
        image: rocks.canonical.com/cdk/diverdane/nginxdualstack:1.0.0
        ports:
        - containerPort: 80
---
apiVersion: v1
kind: Service
metadata:
  name: nginx6
  labels:
    run: nginxdualstack
spec:
  type: NodePort
  ipFamilies:
  - IPv6
  ipFamilyPolicy: RequireDualStack
  ports:
  - port: 80
    protocol: TCP
  selector:
    run: nginxdualstack

EOF
k apply -f ipv6_test.yaml
- Wait the pod to be ready
wa k get po
- Get the IPv6 Address:
k get svc
- Preform a curl request
curl http://[<Service IPv6 Address>]/
- Clean up:
k delete -f ipv6_test.yaml
Step 3: Configuring Persistent Storage with MicroCeph (Optional)
While not directly part of kubernetes gpu share, a stable Kubernetes cluster often requires persistent storage. For more details please refer to the official documentation.
- Install MicroCeph:
snap install microceph --channel=latest/edge
- Bootstrap MicroCeph Cluster:
microceph cluster bootstrap
- Check Cluster Status:
microceph.ceph status
- Add Disks to Ceph:
- List available disks:
microceph disk list
- Lab Environment Note: The example uses three LVMs on a single NVMe drive (
nvme0n1). This is for lab/testing only. In production, use three separate physical disks for redundancy. - Add disks (replace with your actual disk identifiers):
microceph disk add --wipe  /dev/mapper/moses-ceph--osd0
microceph disk add --wipe  /dev/mapper/moses-ceph--osd1
microceph disk add --wipe  /dev/mapper/moses-ceph--osd2
- Check status again; OSDs should initialize.
wa microceph.ceph status
- Integrate MicroCeph with MicroK8s:
- Enable the
rook-cephaddon in MicroK8s:
microk8s enable rook-ceph
- Connect MicroK8s to MicroCeph storage:
microk8s connect-external-ceph
- Verify Storage Class:
k get storageclass
- Set Default Storage Class (Optional):
k patch storageclass ceph-rbd -p '{"metadata": {"annotations":
{"storageclass.kubernetes.io/is-default-class": "true"}}}'
Step 4: Enabling Kubernetes GPU Sharing in MicroK8s 🚀
This is where we configure MicroK8s to enable kubernetes gpu share. Additionally, for more please refer to the official documentation.
- Understanding GPU Addon Configuration:
- The MicroK8s GPU addon can be enabled using
microk8s enable gpu. - For sharing, we need to provide a custom configuration. The
--driverargument should be--hostsince drivers are installed on the host.
- Prepare Custom GPU Configuration: Create a custom configuration file:
cat <<EOF | tee nvidia-config.yaml > /dev/null
devicePlugin:
 config:
   name: device-plugin-config
   create: true
   data:
     default: |-
       sharing:
         timeSlicing:
           renameByDefault: false
           failRequestsGreaterThanOne: true
           resources:
           - name: nvidia.com/gpu
             replicas: 10
EOF
- Apply the Custom Configuration and Enable the GPU Addon:
- The GPU device plugin in MicroK8s typically looks for a ConfigMap named
device-plugin-configin thekube-systemnamespace (or the namespace where the plugin runs).
microk8s enable nvidia --driver host --values nvidia-config.yaml
- This process can take some time. Wait until it is ready.
wa k get po -n gpu-operator-resources
- Debugging and Ensuring Custom Config is Used:
- Initially
k describe node <your-node-name>
might show only 1 GPU.
- Key Insight: The NVIDIA device plugin daemonset (e.g.,
nvidia-device-plugin-daemonsetingpu-operator-resources) mounts by default empty ConfigMap for the environment variableCONFIG_FILE*. - The script found the default loaded config was empty (
/config/config.yaml). - The custom config was mounted at
/available-configs/default. - Solution: Edit the daemonset to change the
CONFIG_FILEenvironment variable to point to the correct path of your custom config file within the pod’s filesystem/available-configs/default.
microk8s kubectl edit daemonset nvidia-device-plugin-daemonset -n gpu-operator-resources
# Find and modify the CONFIG_FILE env var
# - name: CONFIG_FILE
#   value: /available-configs/default # Change this to your file
After the daemonset pods restart with the new environment variable, they should load your sharing configuration.
Step 5: Verifying Your Kubernetes GPU Share Setup
- Check Node GPU Capacity:
microk8s kubectl describe node <your-node-name>
- You should now see the number of replicas you configured (e.g.,
nvidia.com/gpu: 10).
- Deploy Test Pods:
- Create a deployment with multiple replicas, each requesting one GPU.Example
nvidia-test.yaml:
cat <<EOF | tee nvidia-test.yaml > /dev/null
apiVersion: apps/v1
kind: Deployment
metadata:
  name: nvidia-smi
spec:
  replicas: 3
  selector:
    matchLabels:
      app: nvidia-smi
  template:
    metadata:
      labels:
        app: nvidia-smi
    spec:
      containers:
        - image: nvidia/cuda:12.8.0-base-ubuntu24.04
          name: nvidia-smi
          command: ["/bin/sh", "-c"]
          args:
            - "while true; do nvidia-smi; sleep 10; done"
          resources:
            limits:
              nvidia.com/gpu: 1
            requests:
              nvidia.com/gpu: 1
          volumeMounts:
            - mountPath: /usr/bin/
              name: binaries
            - mountPath: /usr/lib/x86_64-linux-gnu
              name: libraries
      volumes:
        - name: binaries
          hostPath:
            path: /usr/bin/
        - name: libraries
          hostPath:
            path: /usr/lib/x86_64-linux-gnu
EOF
- Deploy it:
k apply -f nvidia-test.yaml
- Check Pod Status and Logs:
k get po
- All pods should eventually be in a
Runningstate. Check logs:
k logs <pod-name>
- You should see
nvidia-smioutput from within the pods.
- Confirm GPU Allocation:
microk8s kubectl describe node <your-node-name> # Look for allocated resources
- You should see that 3 out of your 10 (or configured replica count) GPUs are allocated.
- Cleanup:
k delete -f nvidia-test.yaml
Conclusion: Effective GPU Utilization
By providing a custom device plugin configuration, you can successfully achieve kubernetes gpu share in MicroK8s, allowing multiple pods to utilize a single NVIDIA CUDA-enabled GPU. While each pod is allocated what appears to be 100% of a GPU instance (one of the “replicas”), in reality, these replicas share the underlying physical hardware. Consequently, this approach significantly enhances resource utilization for suitable workloads.
Indeed, this method is a fantastic way to make your hardware go further, especially in development or lab environments. However, always refer to the official MicroK8s and NVIDIA documentation for the latest configurations and best practices.
Ultimately, we hope this guide empowers you! Furthermore, should you have any further questions or require additional assistance, please feel free to contact us.
To stay updated with our latest content and show your support, be sure to subscribe to our YouTube channel.